Hazelnut Chocolate Cake aka Gianduja Cake aka Nutella Cake

A fancy stunner of a cake. Tastes as good as it looks.
Gianduja means chocolate paste flavored with hazelnuts. You say it Jan-doo-ya. Nutella is the brand name most associated with Gianduja. I didn’t know that either, until a few days ago.
Settle in dear readers, this is a process. Really it’s not that hard, it just takes 2 mixing bowls and a food processor. I did it over two days and would recommend. I baked the layers, made the syrup and the decor on day one. I made the buttercream and put it together on day two.
Ricarda has long claimed Chocolate Hazelnut is her all time favorite flavor. Of course it’s her birthday and since I’m happy she was born, she got a cake. “Nutella Cake” was her request.

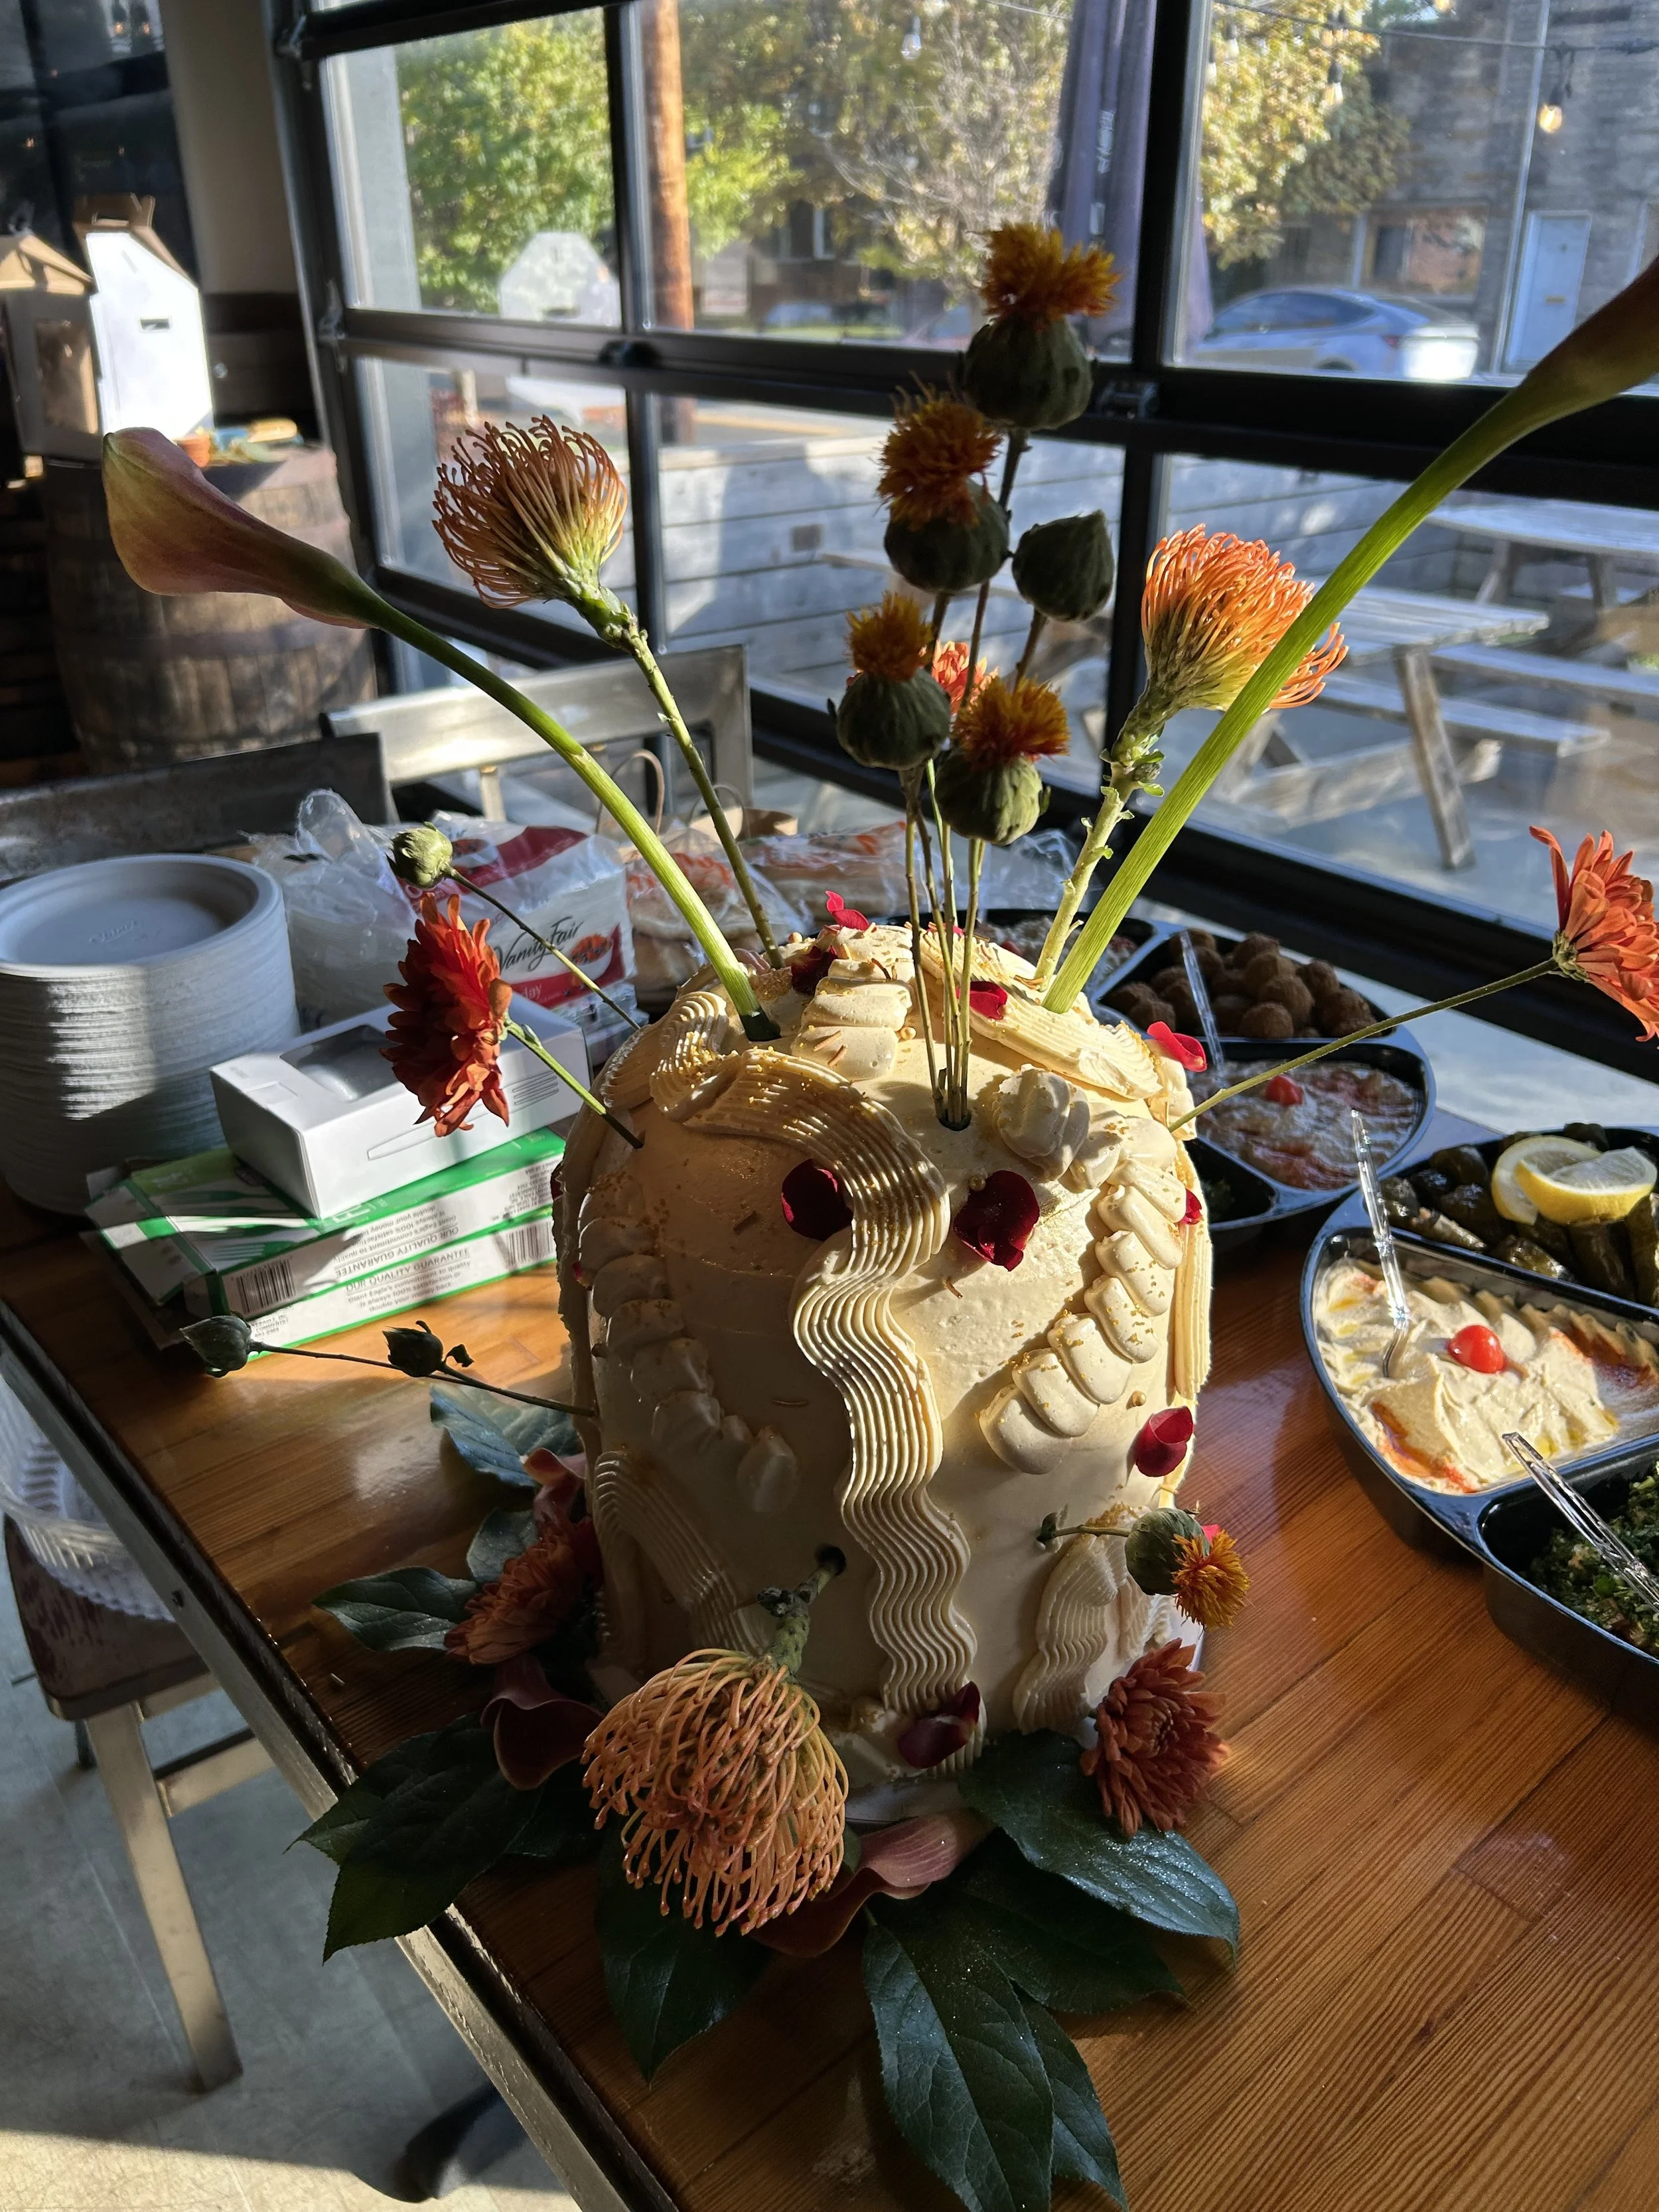
She’s so happy!
Look at the cans in the back! Ha! We are in a kitchen for real.
Really I’m happy you were born too, but I can’t make cakes for everyone.
The Recipe
Hazelnut Butter Sponge Cake
60g hazelnuts blanched and toasted
85g cake flour
1 teaspoons baking powder
9 egg whites
Pinch of cream of tartar
100g sugar
9 egg yolks
150g sugar
¼ teaspoon kosher salt
1 teaspoon vanilla
85g butter melted
Syrup
120g water
100g sugar
1 teaspoons instant espresso powder
2 tablespoons hazelnut liqueur
Chocolate Hazelnut Décor
85g toasted hazelnuts
85g dark chocolate
Pinch of kosher salt
Chocolate Hazelnut Buttercream
225g dark chocolate coarsely chopped
170g butter room temperature
⅓ cup heavy cream
1 ½ tablespoons hazelnut liqueur
2 teaspoons vanilla
40g powdered sugar
280g Nutella or chocolate hazelnut spread
Extras
Hazelnut cream filled chocolate wafers
Ferrero Rocher Candies
INSTRUCTIONS
Preheat the oven to 350°F. Line three 8x2" round cake pans with parchment paper. Do not spray sides, just the bottom of the pan and the parchment.
In food processor, blitz the hazelnuts nearly to paste. Go as close as you dare without making butter. Add the flour and baking powder to the processor. Process to further grind the nuts as fine as possible. Set aside.
In a bowl of a stand mixer beat the egg whites, once foamy and the tartar then slowly add the 100g of sugar in a few additions. Beat to medium peaks. Set aside.
In a 2nd bowl of a stand mixer combine egg yolks, 150g sugar and vanilla whisk until ribbon stage. Light pale yellow. Add in the melted butter, whisk well.
Combine the flour/nut mixture to the egg yolk mixture, mix very lightly. Remove from the mixer, the rest of the mixing is done by hand.
Fold in ⅓ of the beaten egg white meringue to the yolk batter. Use a gentle touch, but be thorough. Add an ⅓ more, repeat. Then gently as possible add the remaining ⅓ of the egg whites to the batter.
Divide the batter between the three pans, weigh for equal distribution,, smooth the tops.
Bake for 15 to 18 minutes or until the sponge springs back when lightly touched and/or a tester comes out clean. Use a knife to loosen the cake from the side of the pan. Cool completely in the pan.
Syrup
Combine the water and sugar in a small saucepan. Swirl the pan and assure the sugar is dissolved. Add the espresso and liqueur. Cool.
Chocolate Hazelnut Decor
Place the chocolate in the bowl of a processor. Pulse until coarsely chopped but not powdered. Remove from the processor. Without cleaning the bowl, add the hazelnuts and process until coarsely chopped. Combine the two, add a pinch of salt and freeze.
Chocolate Hazelnut Buttercream-
Do not make ahead.
Melt the chocolate over a double boiler, cool. Whip the butter in the bowl of a stand mixer. To the butter add the chocolate, whip. Add the remaining ingredients. Scrape the bowl. The buttercream is soft but pipes well.
Assembly
Remove the paper from the bottom of the sponge layers. Keeping the layers upside down, distribute ⅓ of the coffee syrup evenly over the layers. Place one layer on a cake board or serving plate, coffee side up. Spread with 1/4 cup of the buttercream. Repeat with the second cake layer.
Place the top cake layer on and finish the sides with a thin coat of buttercream. Reserve enough to finish the top with the peaks. Use the remainder of the buttercream to finish the top of the cake.
Place a 4" ring in the center of the cake or devise some way to keep the center of the cake free of the decor. Working quickly, carefully distribute the frozen decor on the top edge and sides of the cake.
Fit a pastry bag with a star tip. Pipe the reserved buttercream between the edge of the buttercream and decor to finish the cake. Decoratively place the wafers and candies in the center of the cake.
This really is a stunner and the feels very sophisticated. Ricarda was happy.

I love eggs. I love to cook them and eat them and I love to be social while cooking them…